
Welcome to my very first post.
It is always difficult to decide how you want to start out, so I thought it would make sense to start with a topic which recently went general available and a topic I have created many cases of lately.
Entra ID Privilegede Identtity Mangement for Groups went general available June 2023
PIM for Groups has been out for a while now in Public Preview, but my observations is that it is still a hidden gem, administrators easily oversee.
PIM for Groups can be used in different just-in-time scenarios like access to Intune, Azure roles, Azure SQL, Azure Key Vault and Entra ID roles. Despite the services, PIM for Groups does also let you activate to be a member or owner of the group based on the configured settings.
By integrating PIM for Groups, you adopt one of the 8 topics of best practices for Entra ID Roles.
In this blog post, I will deep dive into how to use it with Entra ID roles.
Prerequisites before using PIM for Groups:
- Microsoft Entra ID P2 license – Assigned to users whom is intended to be part of the group
- You need to have the role Privileged Role Administrator or Global Administrator to setup PIM for Groups
You are now ready to configure PIM for Groups!
Step 1 – Creating the group
Go to https://entra.microsoft.com/
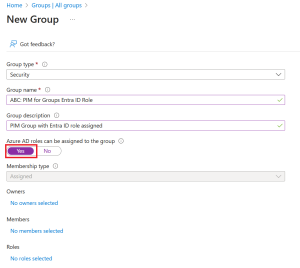
Navigate to Identity / Groups / All groups / New group

Choose the appropriate group type of Security group or Microsoft 365 group
NB: Dynamic groups are not supported

Enter desired group name and description
Set “Azure AD roles can be assigned to the group” to Yes
NB: Groups cannot be nested
Step 2 – Prepare group for PIM usage
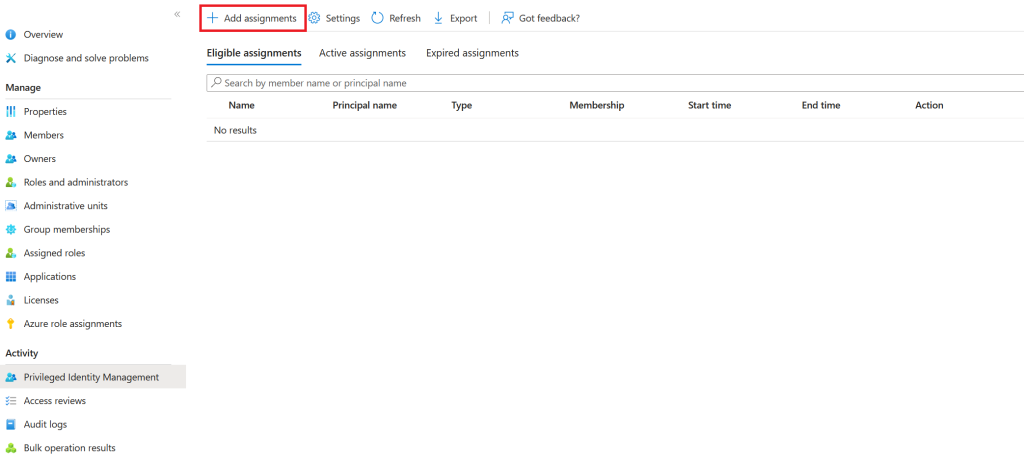
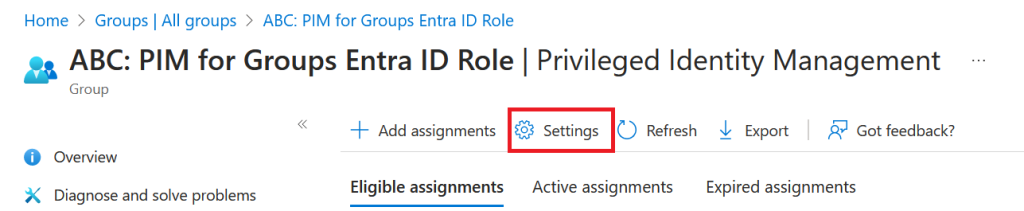
After the groups have been created, next step is to enable Privileged Identity Management for it

After the group is enabled, it is time for to Add assignment
Select role and add members
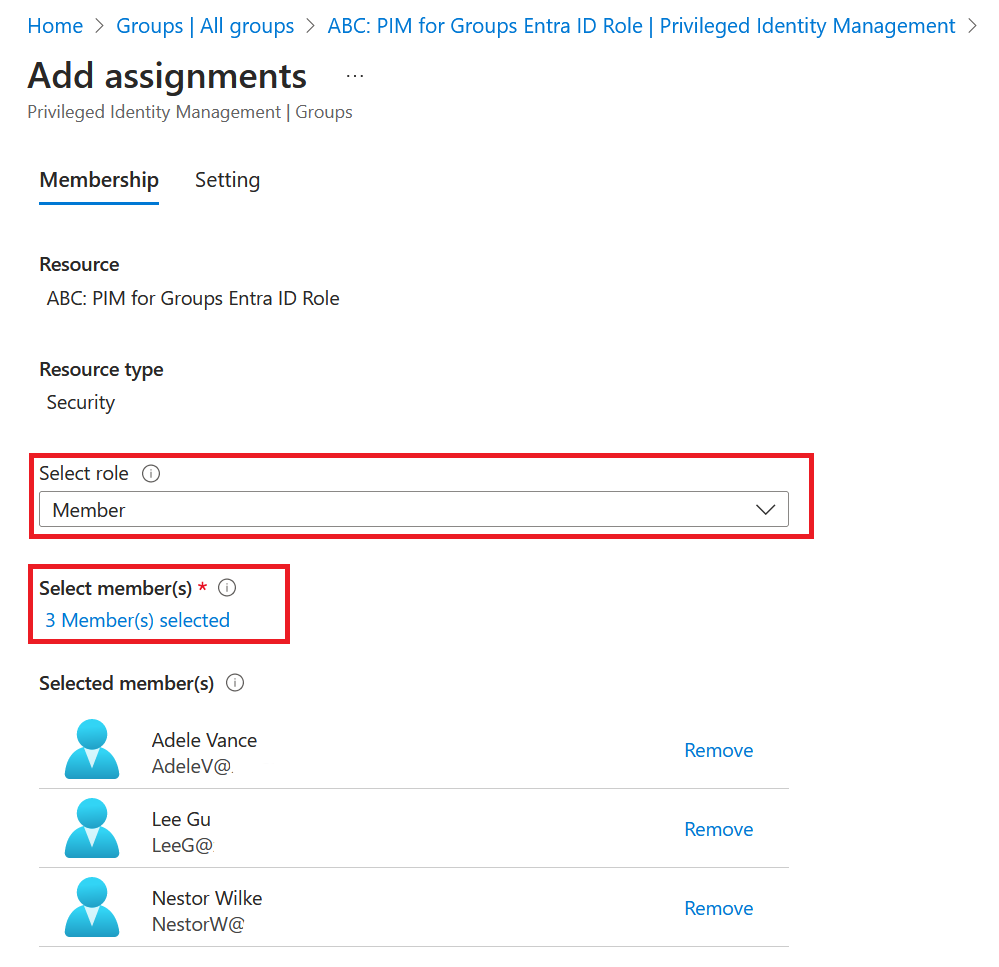
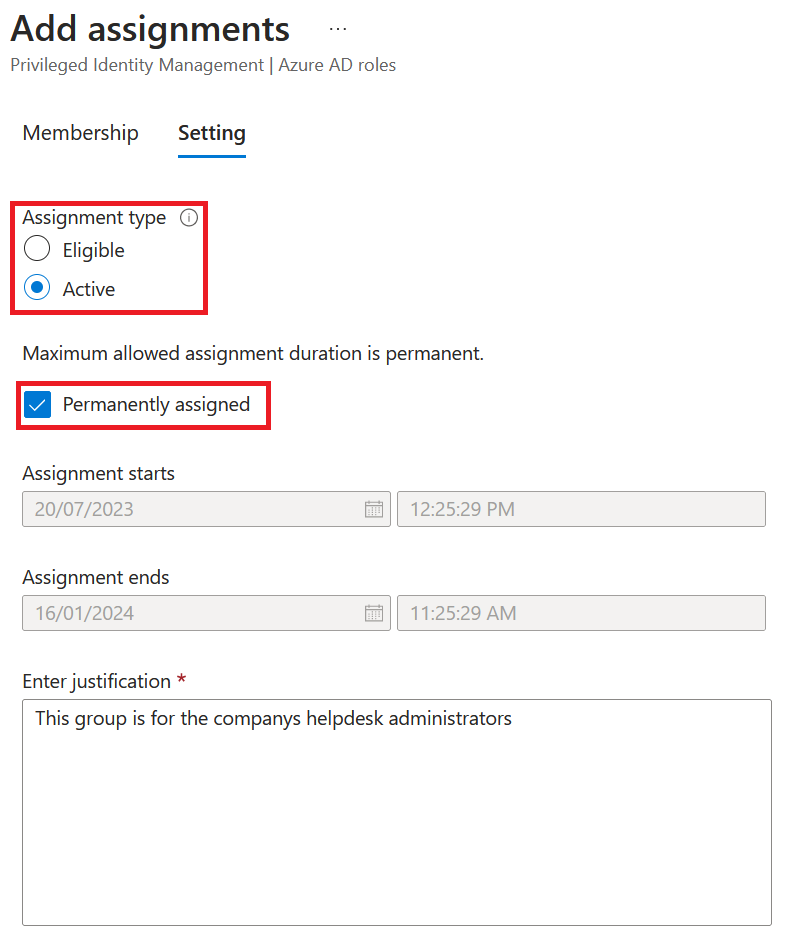
Chose if membership setting needs to be Eligible or Active
In our case, we choose Eligible

If you don’t want to stick to default settings, you can edit the settings (recommended)
First, you need to decide which role to edit, member or owner. I our case, we choose member

At least, set On action, require Azure MFA
For higher privileged roles, I would also recommend to set Require approval to activate
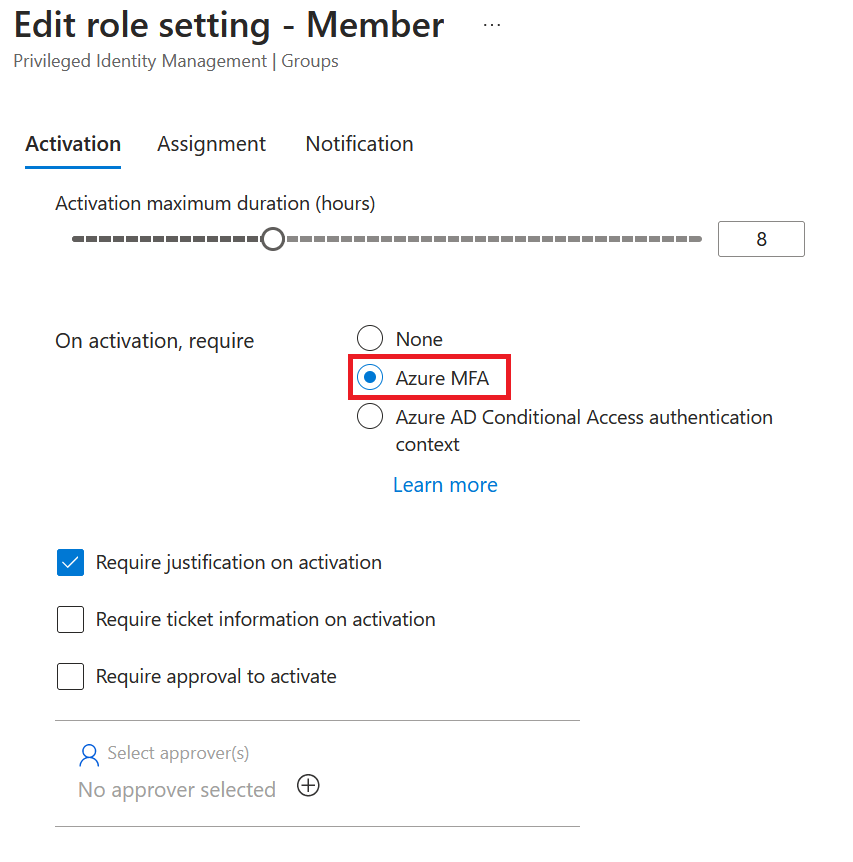
NB: I do not recommend to check ‘Require ticket information on activation’ as it cant be integrated with an existing ticketing system for now
In our case, we set Allow permanent eligible assignment

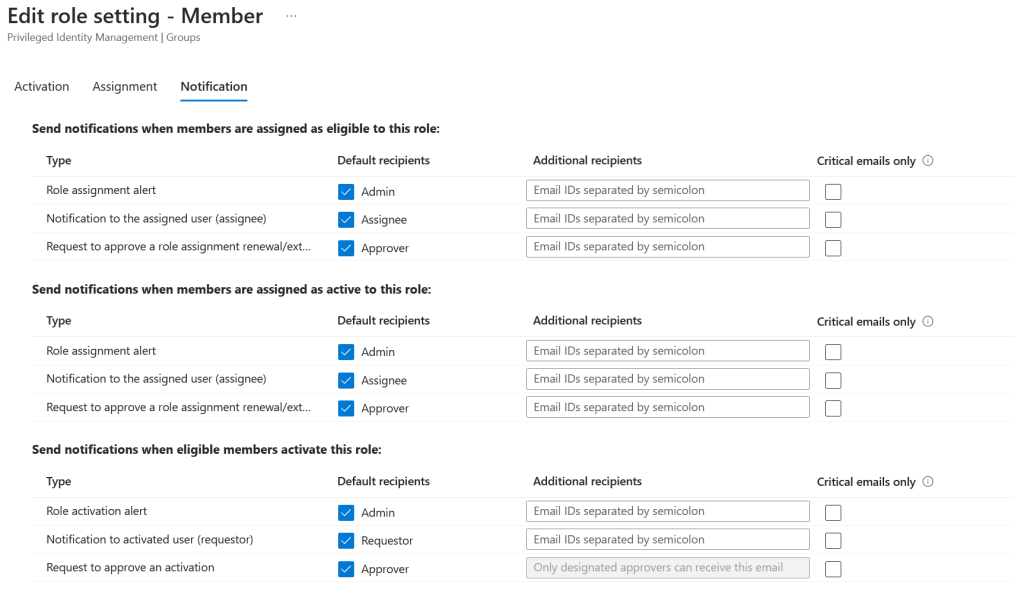
Next step is to edit the notification settings. I highly recommend to set up a distribution list for the security team, to get notified on role activation.
For now, we stick with defaults
Step 3 – Assigning privilege role to group
Add role by clicking Add assignment
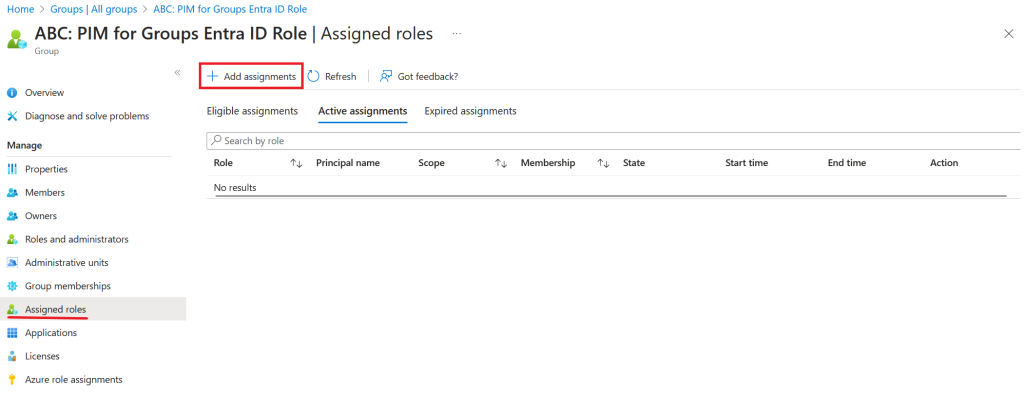
Select appropriate role for the group

Next up, is to decide if the role needs to be eligible or active. In our scenario, we choose active as the group is designed for helpdesk employees with JIT access to Helpdesk Administrator role
Step 4 – Let’s test it out
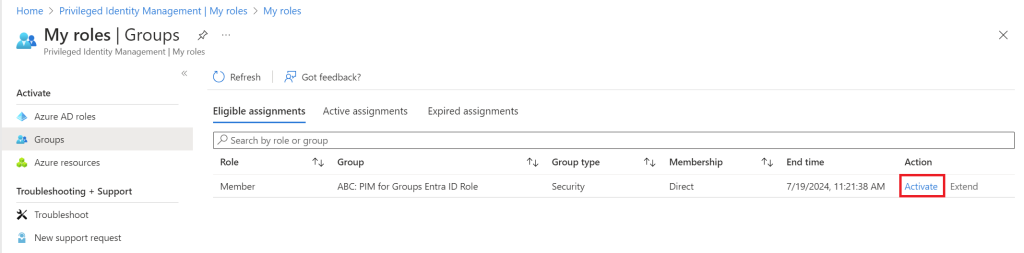
I have logged into https://entra.microsoft.com with a user I made eligible to active the privileged group
Navigate to Identity Governance / Privileged Identity Management / Groups
Click Activate
As we configured before, we are now getting prompted for additional verification
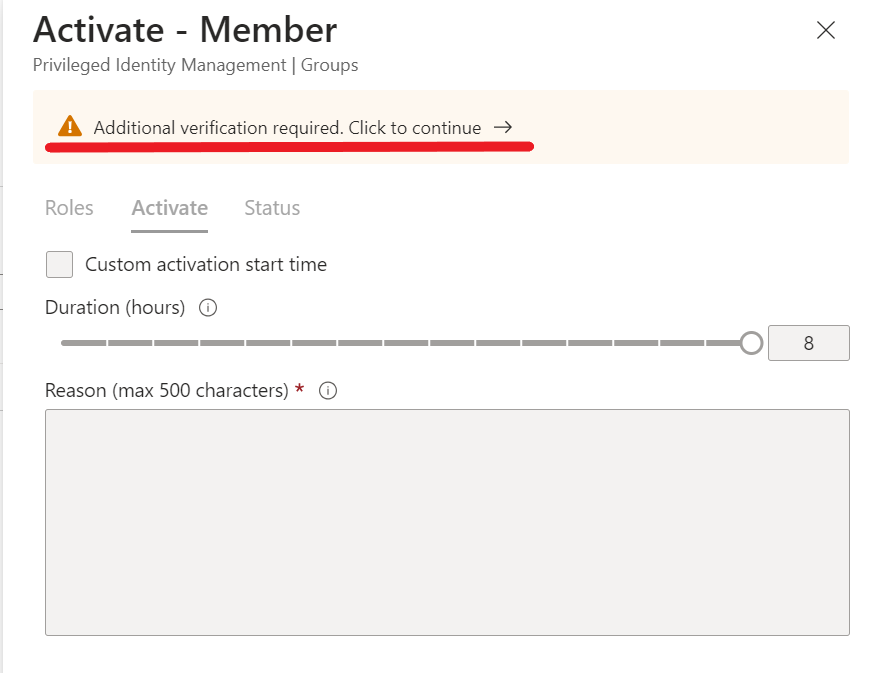
After you have entered additional verification, you need to insert a reason for activation
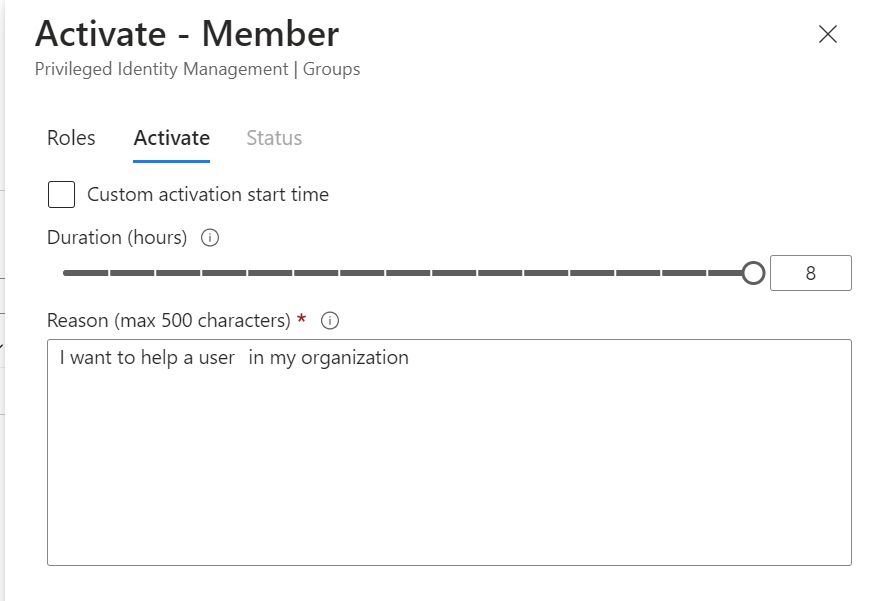
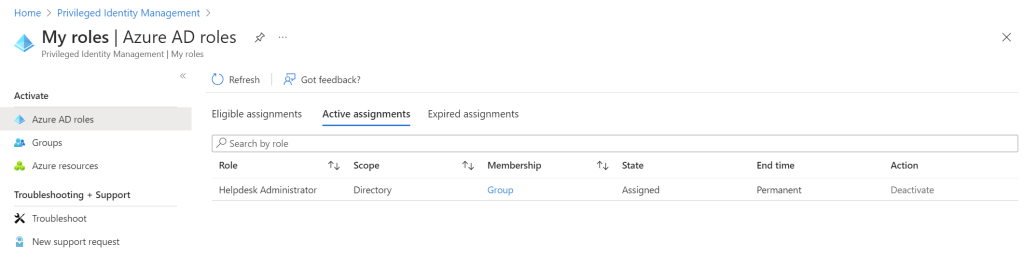
When successfully activated, you can now verify that you have your desired privileged role enabled
Summarize
PIM for Groups is an amazing feature that is now general available. I think this feature is going to be used more and more in the feature, as it helps administrators managing user access with group-based access rather than per-user based access. In this blogpost, I hope you have learned how to use PIM for Groups to manage access to Entra ID roles. Managing Entra ID roles, is just one of the corners of PIM for Groups, but the fundamentals is the same.
This was also my very first post, so please feel free to reach out to me with any improvements or if you have any questions about this topic.